API Testing with Insomnia and Burp Suite: An Alternative to Postman
Learn how to use Insomnia and Burp Suite for API testing and hacking as a powerful alternative to Postman. Set up Insomnia, capture API requests with mitmproxy, convert them to OpenAPI 3.0 format, and integrate Insomnia with Burp Suite for API Testing, including detecting improper asset management vulnerabilities.
Introduction
In this blog post, I’ll show you how to use Insomnia and Burp Suite for API testing and hacking as an alternative to Postman.
You’ll learn how to set up Insomnia, capture API requests with mitmproxy, and convert them to OpenAPI 3.0 format using mitmproxy2swagger for easy import into tools like Insomnia or Postman.
I’ll walk you through Insomnia’s features, like managing variables, organizing requests, and integrating with Burp Suite to intercept and modify requests.
Finally, I’ll show you how to test for Improper Asset Management (public or outdated API versions) using Insomnia with Burp Suite’s match-and-replace rules to detect outdated endpoints.
I created this guide because I needed an alternative to Postman, which lacks local storage for collections. Insomnia proved to be the great choice with its intuitive UI, powerful features, and the ability to store collections locally, making it ideal for testing sensitive APIs.
This blog post was created because I was doing the API Penetration Test course. I highly recommend it, it’s a great material and completely free!
Support
Enjoying my content? Show your support by sharing, liking, or leaving a comment! You can also buy me a waffle to fuel more awesome content:
Table of Contents
- Introduction
- Support
- Table of Contents
- Pre-requisites
- Capturing and Converting API Requests to OpenAPI 3.0
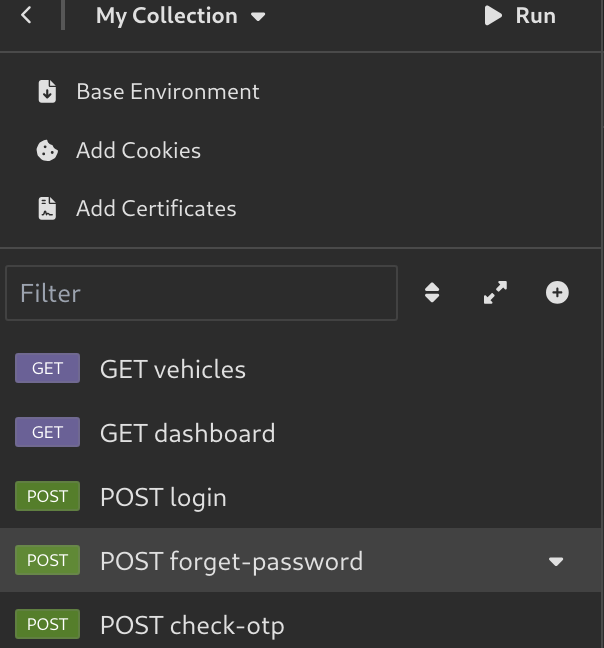
- Using Insomnia
- Testing for Public and Outdated API Versions with Insomnia and Burp Suite
Pre-requisites
For this blog post you will need:
- Burp Suite Community/Pro
- mitmweb
- Comes pre-installed in Kali Linux.
- Fix common mitmweb/mitmproxy error
- Insomnia
- Follow this: Installing Insomnia
- mitmproxy2swagger
- Follow this: Installing mitmproxy2swagger
- Proxyfoxy, or any Proxy tool extension for your browser.
- Install via your browser’s extensions store.
Installing Insomnia
- Go to https://insomnia.rest/download, and click on “Download Insomnia for Ubuntu”.
- This should download a
.debfile.
- This should download a
- Open a terminal, cd into the directory where the
.debfile is located. - Install insomnia with the command below:
1
sudo apt install ./Insomnia.Core-10.2.0.deb
- If you encounter an error like this during installation:
1
Download is performed unsandboxed as root as file '/home/kali/Downloads/Insomnia.Core-10.2.0.deb' couldn't be accessed by user '_apt'. - pkgAcquire::Run (13: Permission denied)
- This is a non-fatal warning. It occurs because the
_aptuser does not have permission to access the directory where the.debfile is located. - A quick solution is to move the
.debfile into a location accessible by_apt, such as/tmp, and then install it from there:1 2
mv ./Insomnia.Core-10.2.0.deb /tmp/ sudo apt install /tmp/Insomnia.Core-10.2.0.deb
Installing mitmproxy2swagger
mitmproxy2swagger converts all recorded requests into the OpenAPI 3.0 format with auto-generated documentation, making them ready for use in tools like Insomnia.
Run the commands below to install it:
1
2
3
4
5
git clone https://github.com/alufers/mitmproxy2swagger.git
cd mitmproxy2swagger
python3 -m venv mitmproxy_venv
source mitmproxy_venv/bin/activate
pip install .
The commands above create a Python virtual environment with all the dependencies required for mitmproxy2swagger to run.
Make sure to activate this environment using the source mitmproxy_venv/bin/activate command each time you want to use mitmproxy2swagger.
Fix common mitmweb/mitmproxy error
- If you encounter the error:
module 'bcrypt' has no attribute '__about__'.
- You can fix this by installing
mitmproxyusingpipxlike so:
1
2
3
4
5
6
# Install mitmproxy
pipx install mitmproxy;
# Send mitmproxy's links to /usr/bin/
sudo mv ~/.local/bin/mitmproxy /usr/bin/mitmproxy;
sudo mv ~/.local/bin/mitmweb /usr/bin/mitmweb;
sudo mv ~/.local/bin/mitmdump /usr/bin/mitmdump;
Capturing and Converting API Requests to OpenAPI 3.0
In this section, I will guide you through recording API requests using mitmweb and converting them into an OpenAPI 3.0 spec.yml file with mitmproxy2swagger. This allows you to import the requests into any API testing tool, such as Insomnia.
Follow this steps:
- Setup mitmweb proxy listener
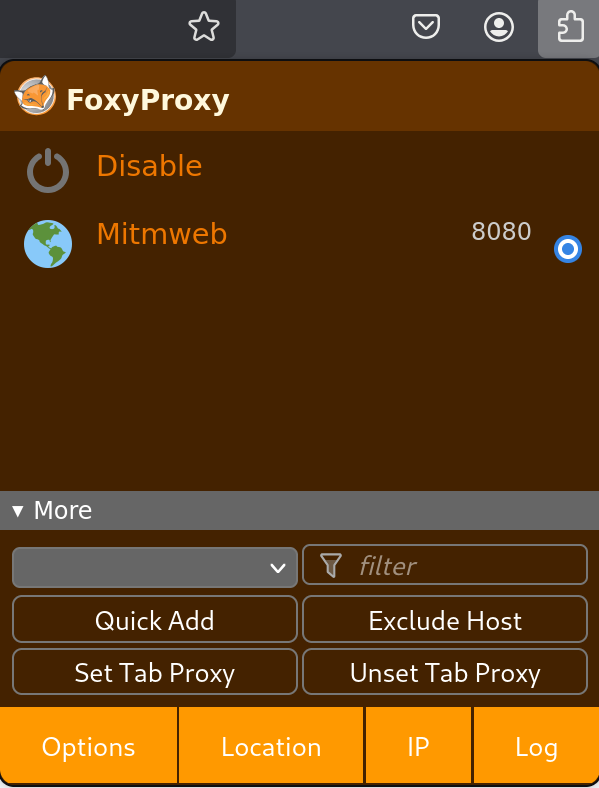
- Configure FoxyProxy for mitmweb
- Install the mitmweb certificates
- Record API Request and Generating OpenAPI Spec File
Setup mitmweb proxy listener
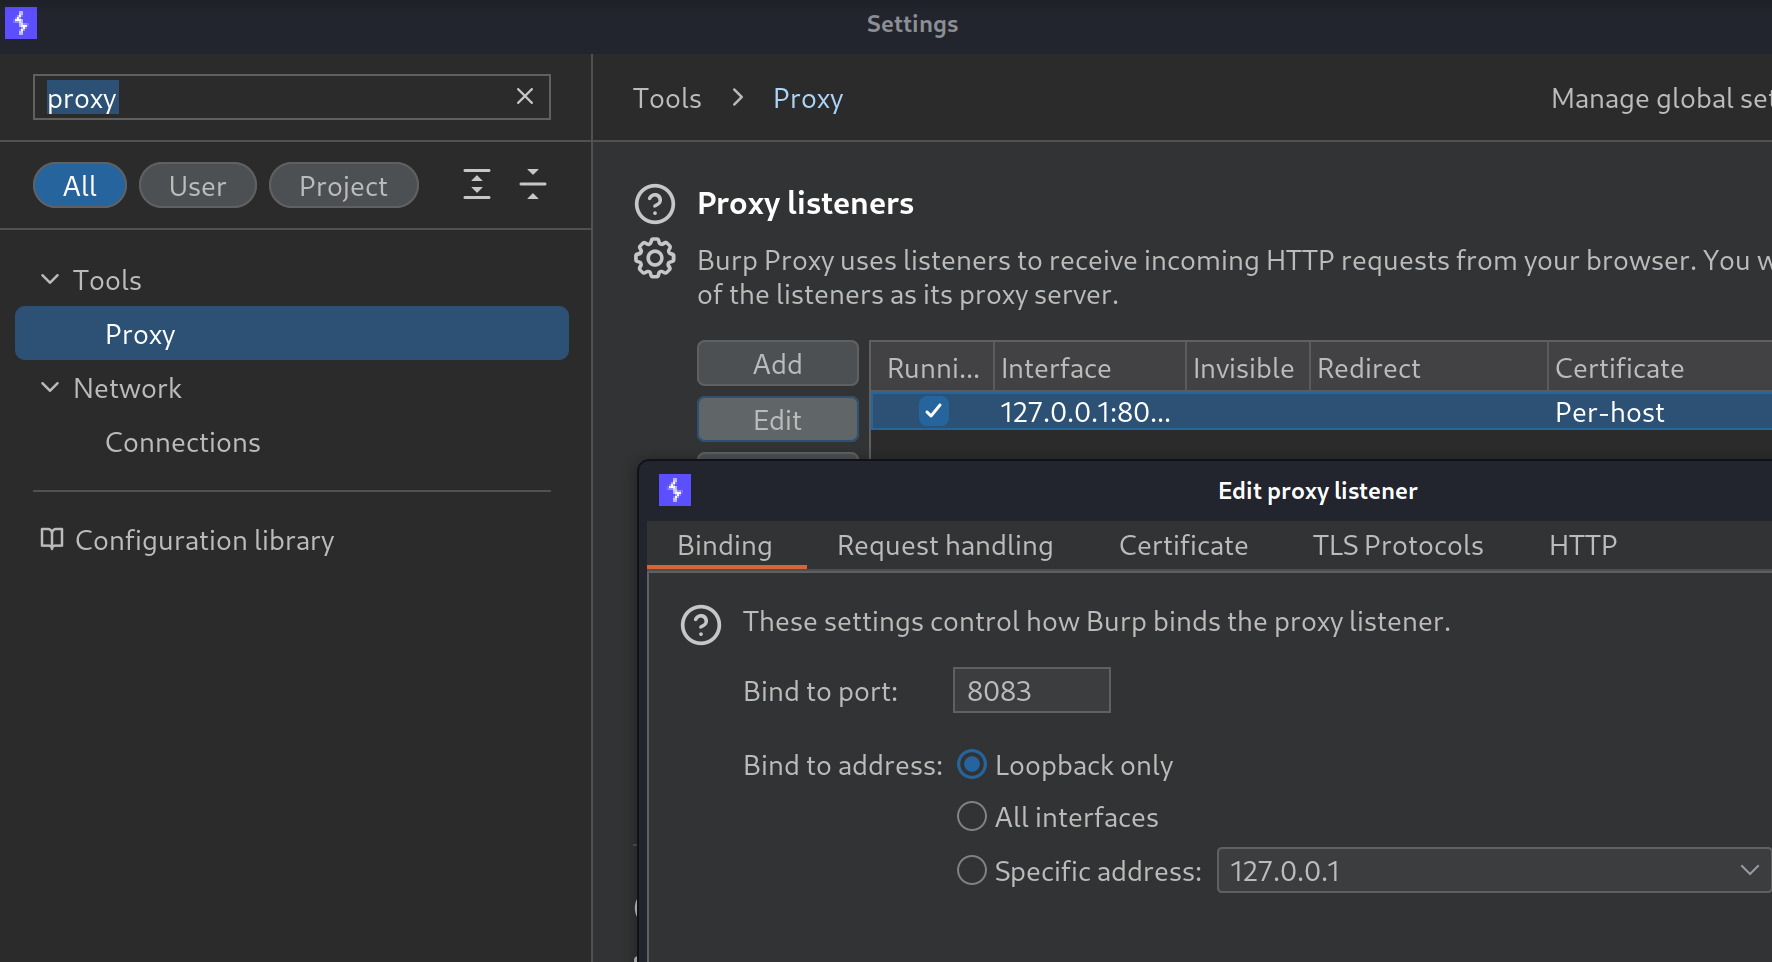
In this section, we’ll configure the mitmweb proxy listener to intercept and forward all API requests through Burp Suite. This setup ensures all requests are sent to Burp Suite, avoiding the need to retest your application later on.
Follow these steps to get started:
- Set Burp Suite Proxy to an Alternate Port
- Start Proxying Web Traffic with
mitmweb- Run the following command to start
mitmweb: mitmweb --mode upstream:https://127.0.0.1:8083- The
upstreammode directs all traffic through Burp Suite. - By default,
mitmwebcreates a proxy listener on port8080and opens a monitoring interface on port8081.
- Run the following command to start
- If you got the error:
module 'bcrypt' has no attribute '_about_'- Learn how to fix it here: Fix common mitmweb/mitmproxy error
Configure FoxyProxy for mitmweb
- Access FoxyProxy Settings
- Open the
FoxyProxyextension and selectOptions
- Open the
- Add a New Proxy
- Enable the mitmweb Proxy
Install the mitmweb certificates
To enable mitmweb to intercept HTTPS traffic, you need to install its root certificates. Follow these steps:
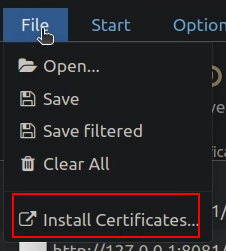
- On the
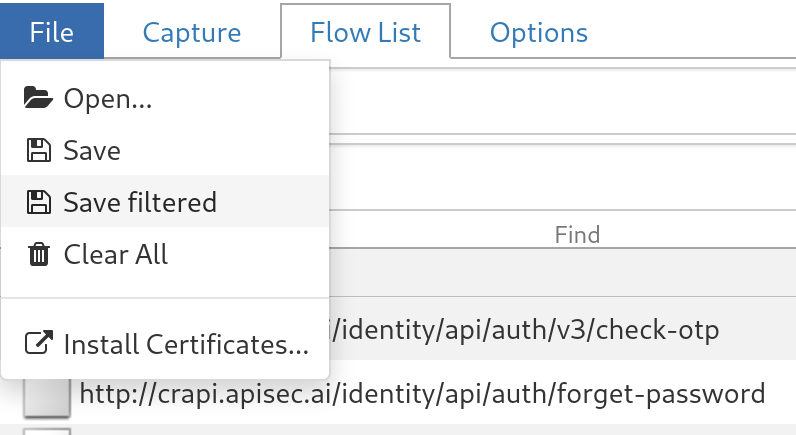
mitmwebpage, Go toFile > Install Certificates - On this new page, Download the certificates based on your OS.
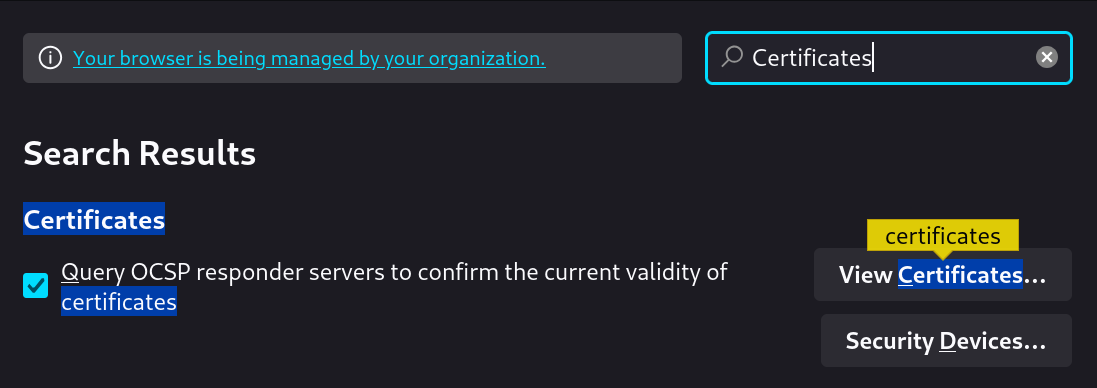
- Go to Firefox Settings, Search
Certificates, and SelectView Certificates. - Go to
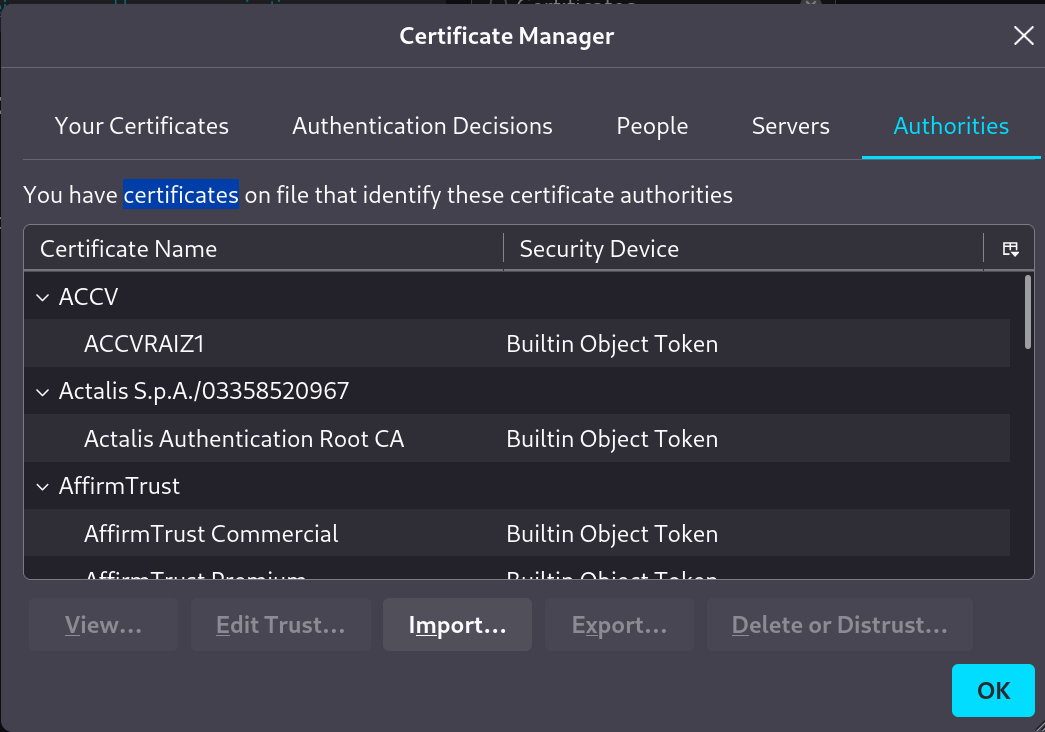
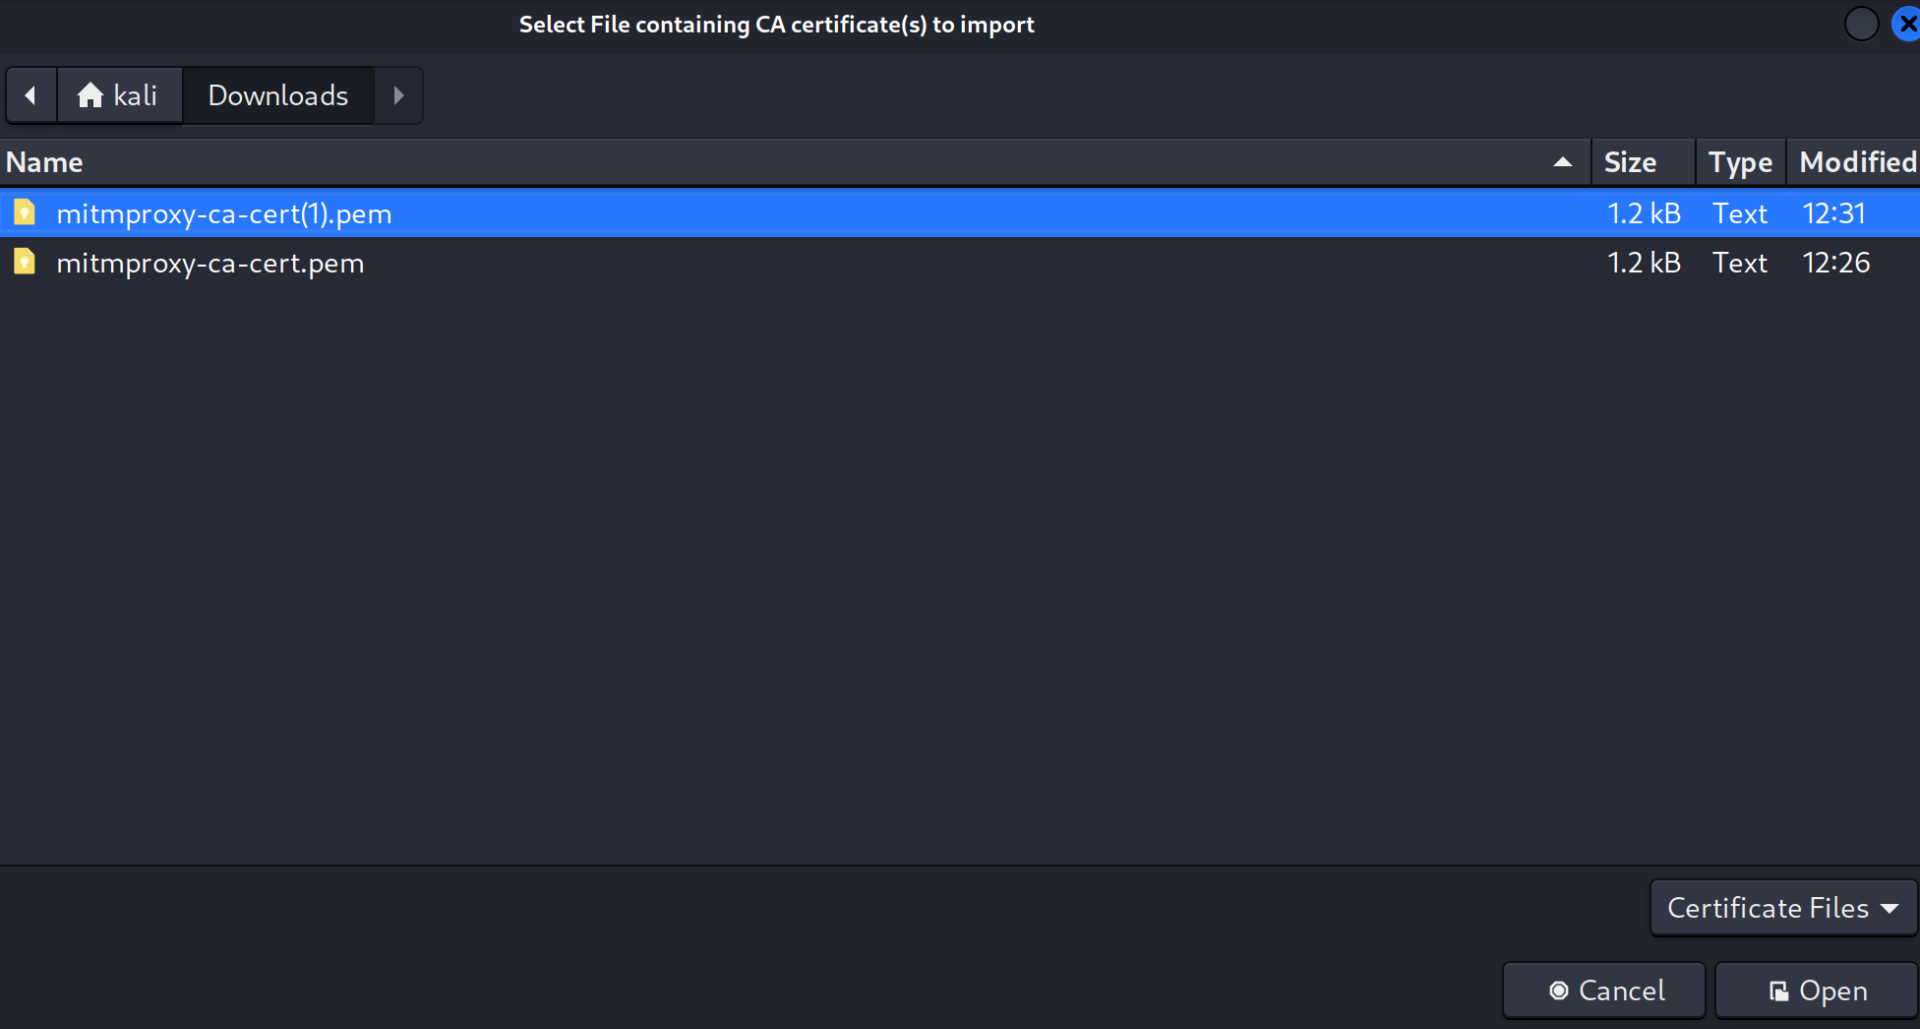
Authorities, SelectImport, and select themitmproxycertificate you previously downloaded: - Now, your when you visit a page you should get the request in the
mitmwebpage and Burp Suite as well.
Record API Request and Generating OpenAPI Spec File
In this section, you’ll learn how to record API requests using mitmweb and convert them into an OpenAPI 3.0 spec.yml file using mitmproxy2swagger. This allows you to document and reuse API interactions in tools like Insomnia. Follow these steps:
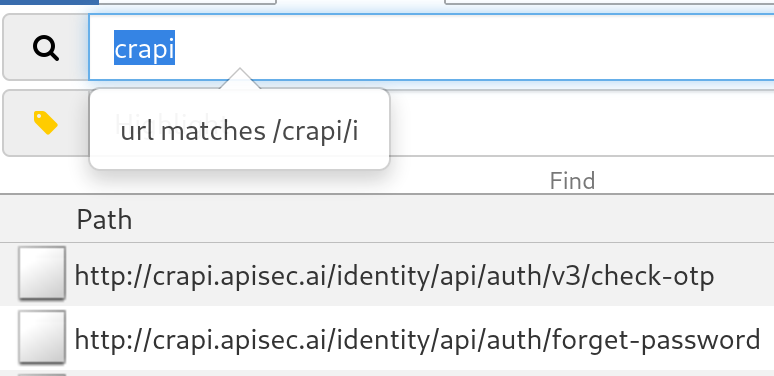
- Once the proxy is set up, explore the target web application until there is nothing left to do to record all possible API requests.
- Next go to the
mitmwebweb server, and clickFile > Saveto save the captured requests. - Run the tool below, to convert the
mitmproxyflow to OpenAPI 3.0 Format:- You can install this tool via its GitHub with docker.
- The
--examplesflag enhances your API documentation with examples.1 2
# Without docker sudo mitmproxy2swagger -i <flow-file-location> -o spec.yml -p http://<target-website.com> -f flow --examples
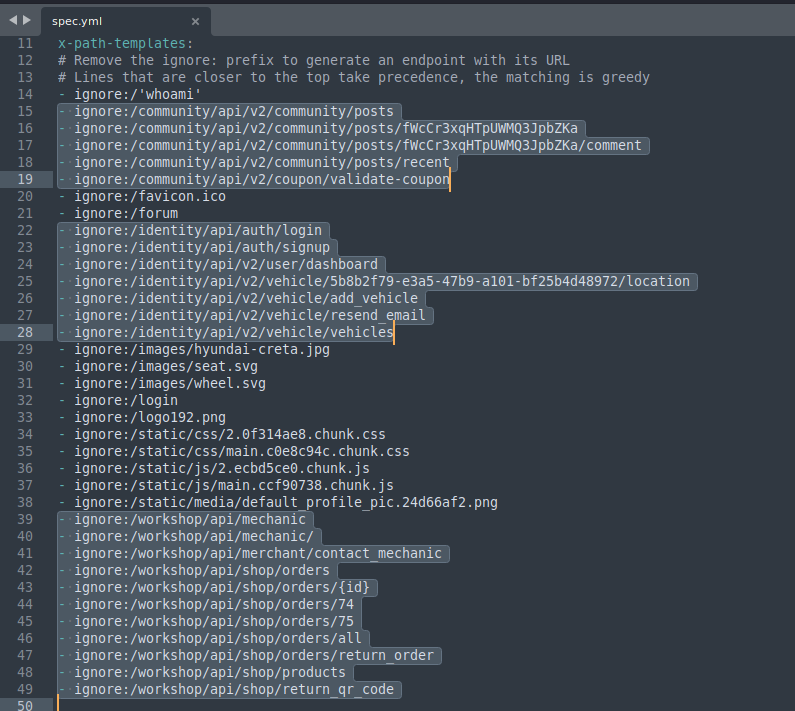
Mitmproxy2swaggerignores endpoints it thinks are irreverent, however some are endpoints from our target website.- Run
mitmproxy2swaggeronce more, this will correct the format and spacing.
Using Insomnia
In this section, we’ll learn how to set up Insomnia for API testing.
After Setting Up Insomnia, you’ll be prompted to create an account. I recommend doing so as it provides access to all program features.
Next, you can follow these steps:
- Introduction
- Support
- Table of Contents
- Pre-requisites
- Capturing and Converting API Requests to OpenAPI 3.0
- Using Insomnia
- Testing for Public and Outdated API Versions with Insomnia and Burp Suite
Creating a Project and Importing OpenAPI Spec Files
Before using Insomnia, you need to create a project to import your spec.yml file to.
- Click on
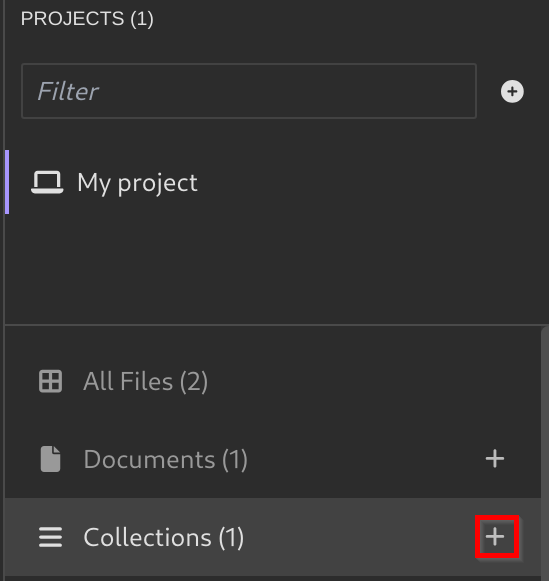
Create a new Project: - Create a new Collection:
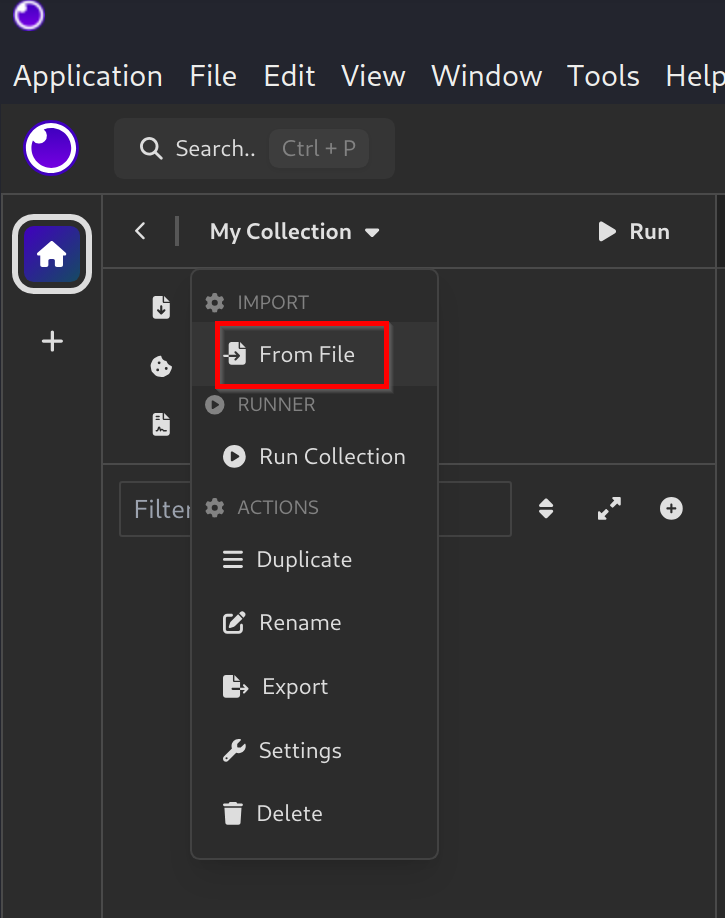
- Enter in the Collection you just created, click on your Collection name, and Select
From File. - Select the
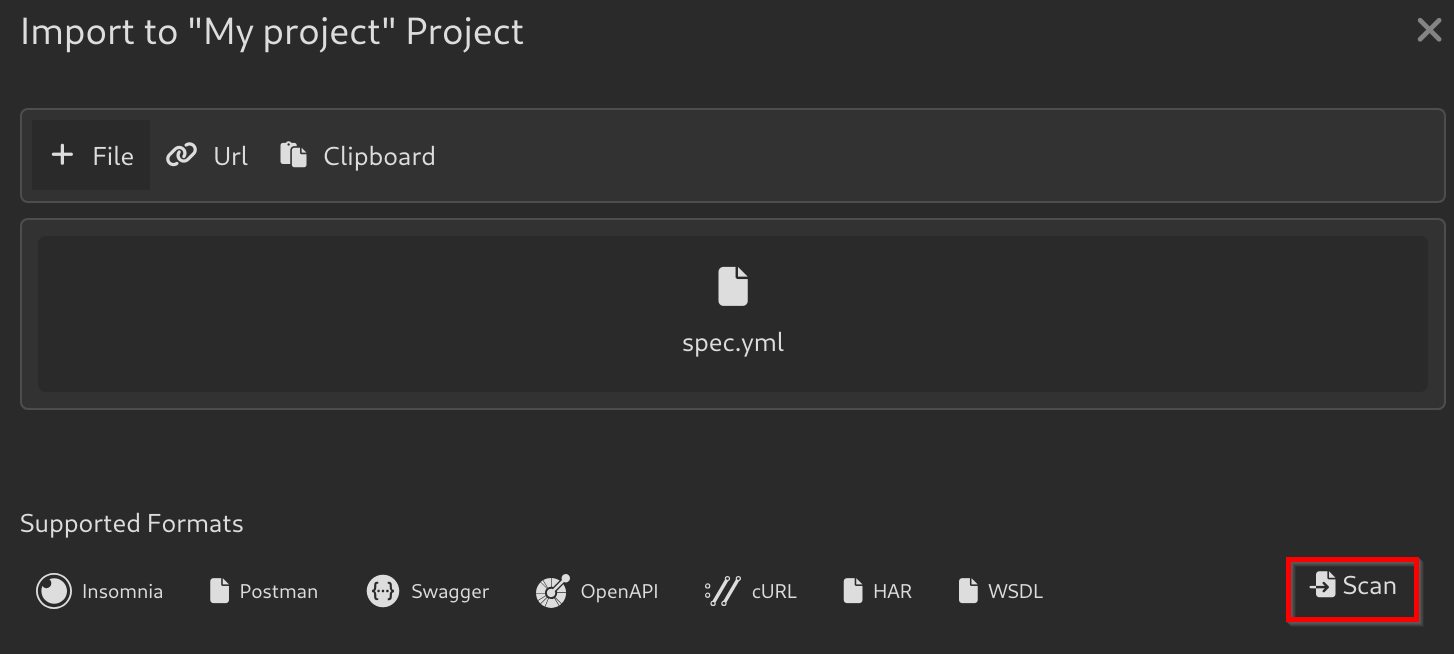
spec.ymlyou created from before, and Click onScan > Import. - Now, you should see the API Requests were added to your Collection
Editing Collection Variables
In Insomnia, collection variables are part of the collection environment and function similarly to Postman’s collection variables. These variables store reusable values, such as API keys, URLs, or other configuration details, that can be accessed across all requests within a collection.
Here’s how you can modify them and use them:
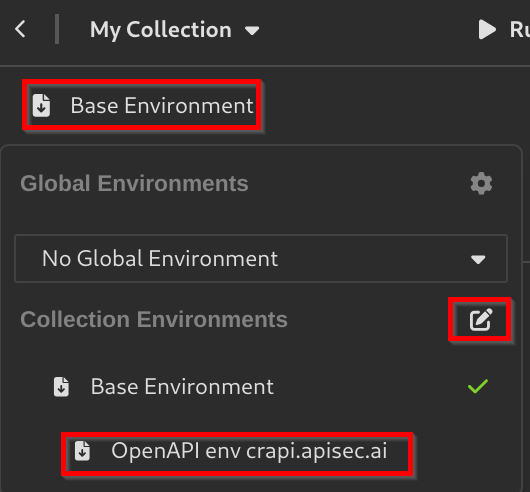
- Click on
Base Environment, to edit the current Collection Variables select the pencil next toCollection Environments. - You can also use the Collection variables from the
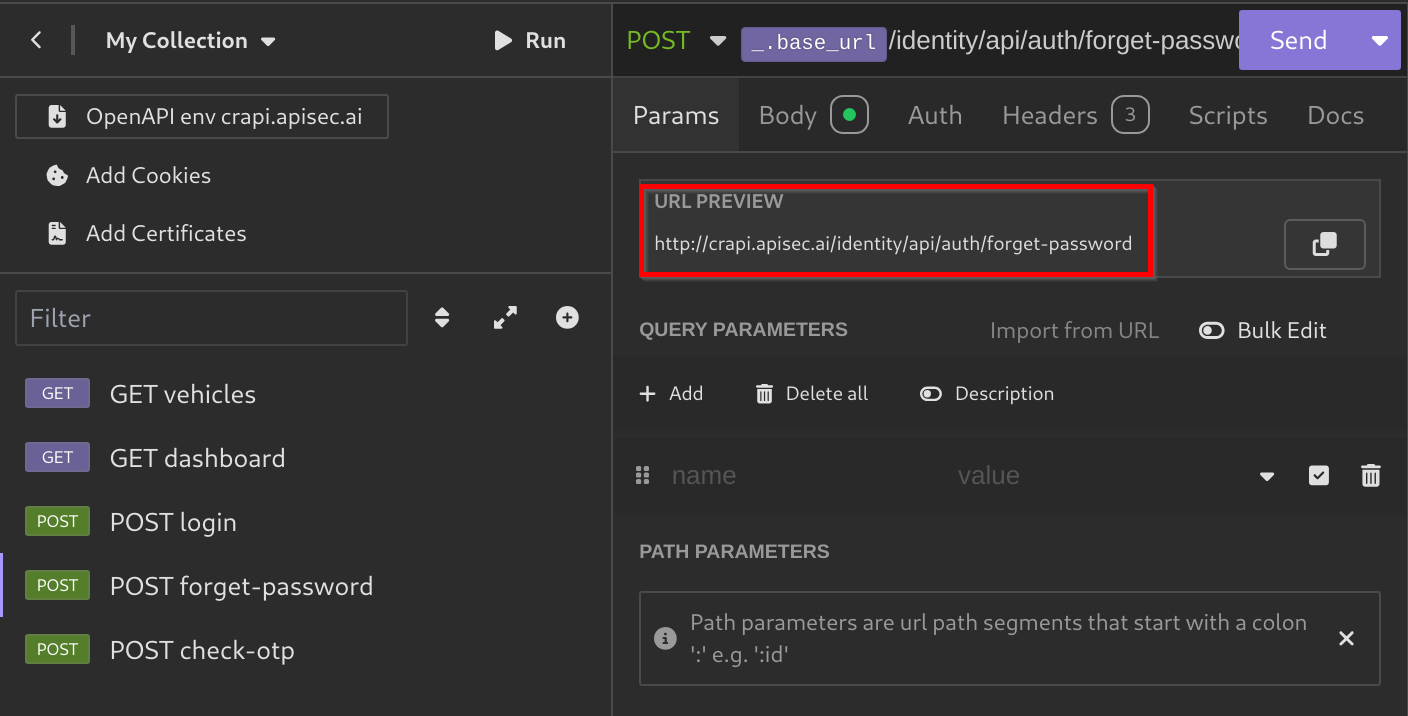
spec.ymlfile. - Now, the URL preview should include your API URL.
Configuring Insomnia to Use Burp Suite Proxy
You can set up Insomnia to route traffic through Burp Suite, enabling you to intercept and analyze API requests in real time. Once configured, all requests sent from Insomnia will be captured by Burp Suite for inspection and testing.
- In Insomnia, Go to
Application > Preferences > Proxy. - Check
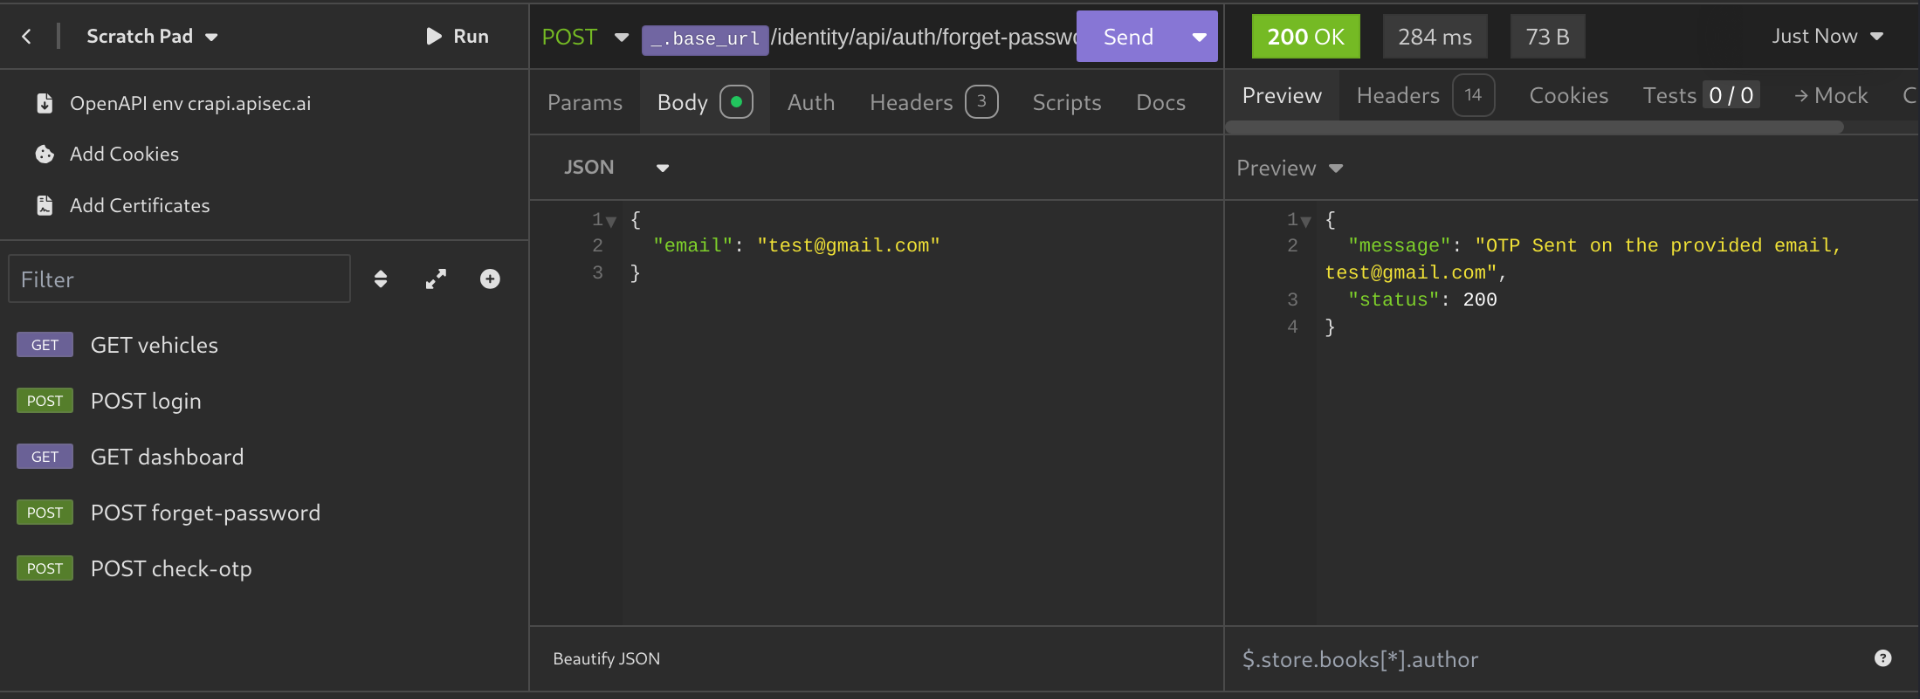
Enable Proxy, and enter the Burp Suite Proxy address: - Now, any request you send via Insomnia will be also intercepted by Burp Suite.
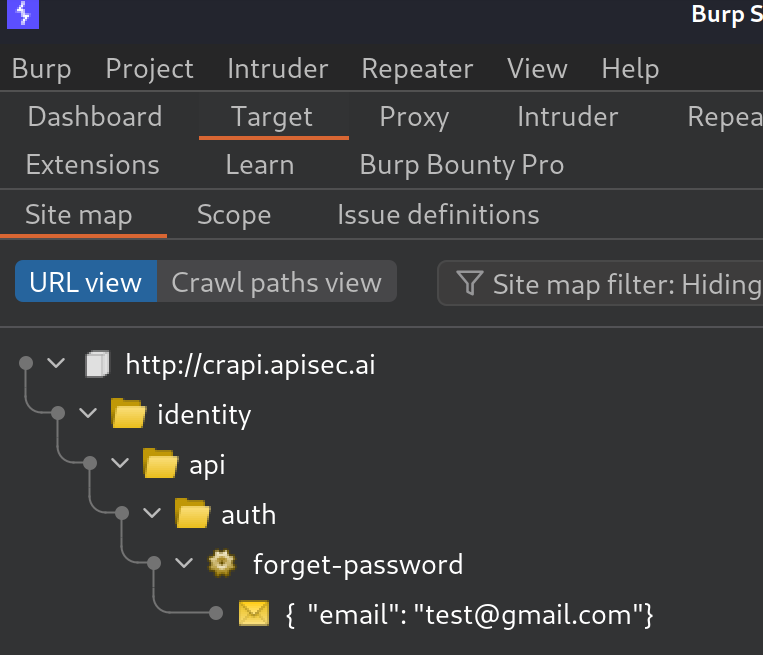
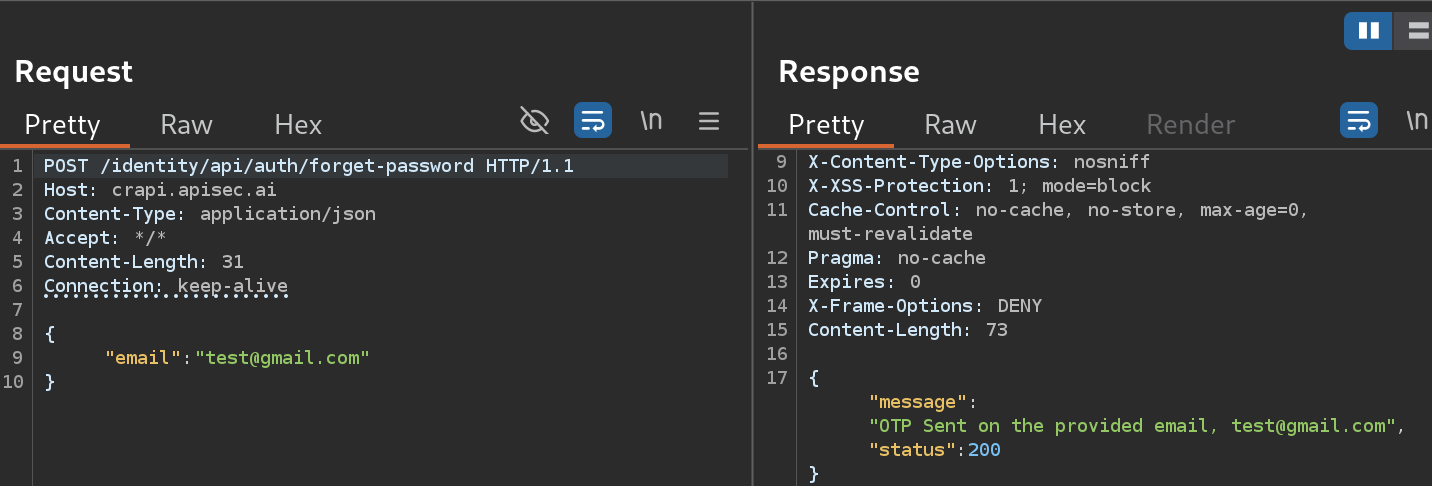
- For example, I will send a POST request to
forget-passwordfor the emailtest@gmail.com:
Organize and Inherit Settings with Insomnia Folders for Scripts, Tokens, and Variables
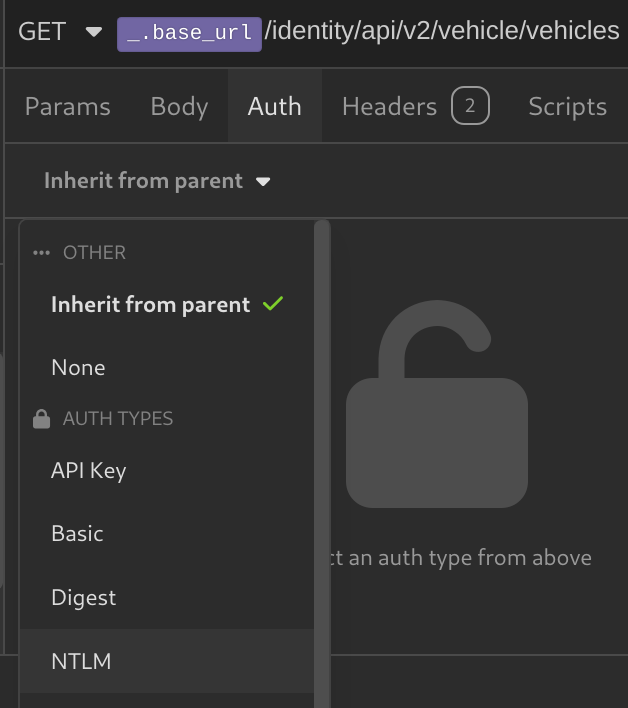
Insomnia folders allow you to manage shared settings like Scripts, Authentication Tokens, and Environment Variables for all requests within a folder. With the default “Inherit from Parent” setting, requests automatically use these configurations.
Setting Authentication Tokens for Folders
The request below only works when a user is logged in. If I send the request without any Authentication token it will give a 401 error:
To fix this we can add authentication tokens to request like so:
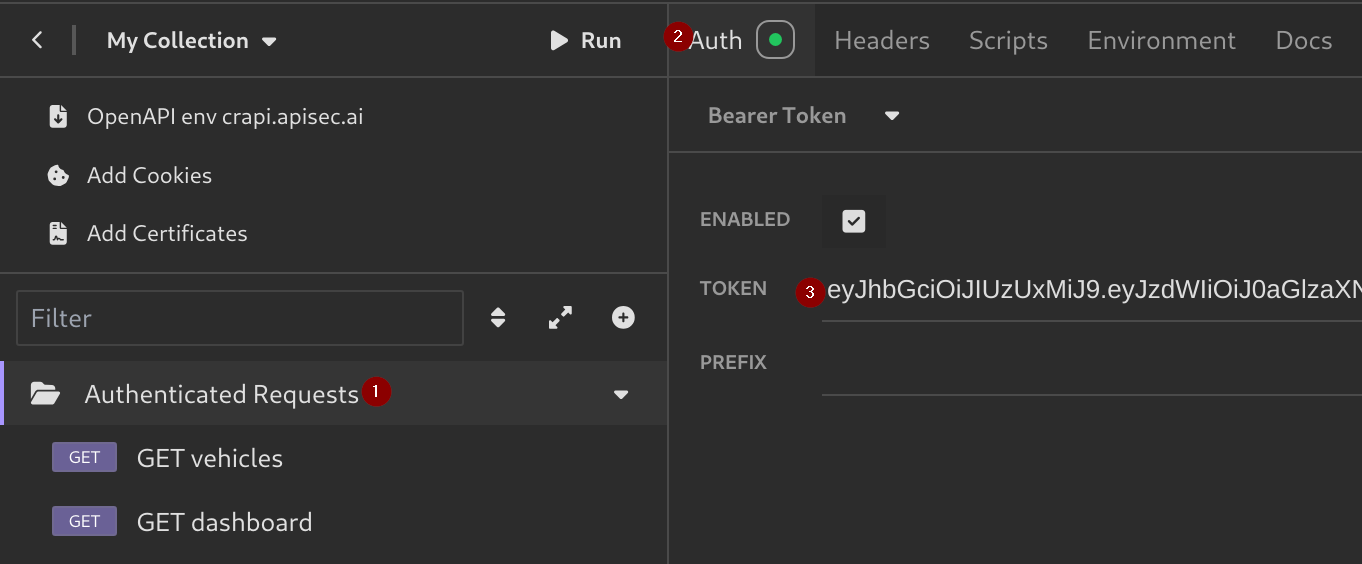
However, this would be tedious to add a authentication token for each request, so we can create folder for authenticated requests and set the Authentication Token for all requests, like so:
- Get a token from the
POSTLogin request - Create a folder named and put your authenticated requests inside of it.
- Click on the folder you created, Go to
Auth, Select theBearer Tokenoption, and paste your token. - Now, if you send any authenticated request it will have the Bearer Token and give a
200 OKresponse.
Setting Scripts for Folders
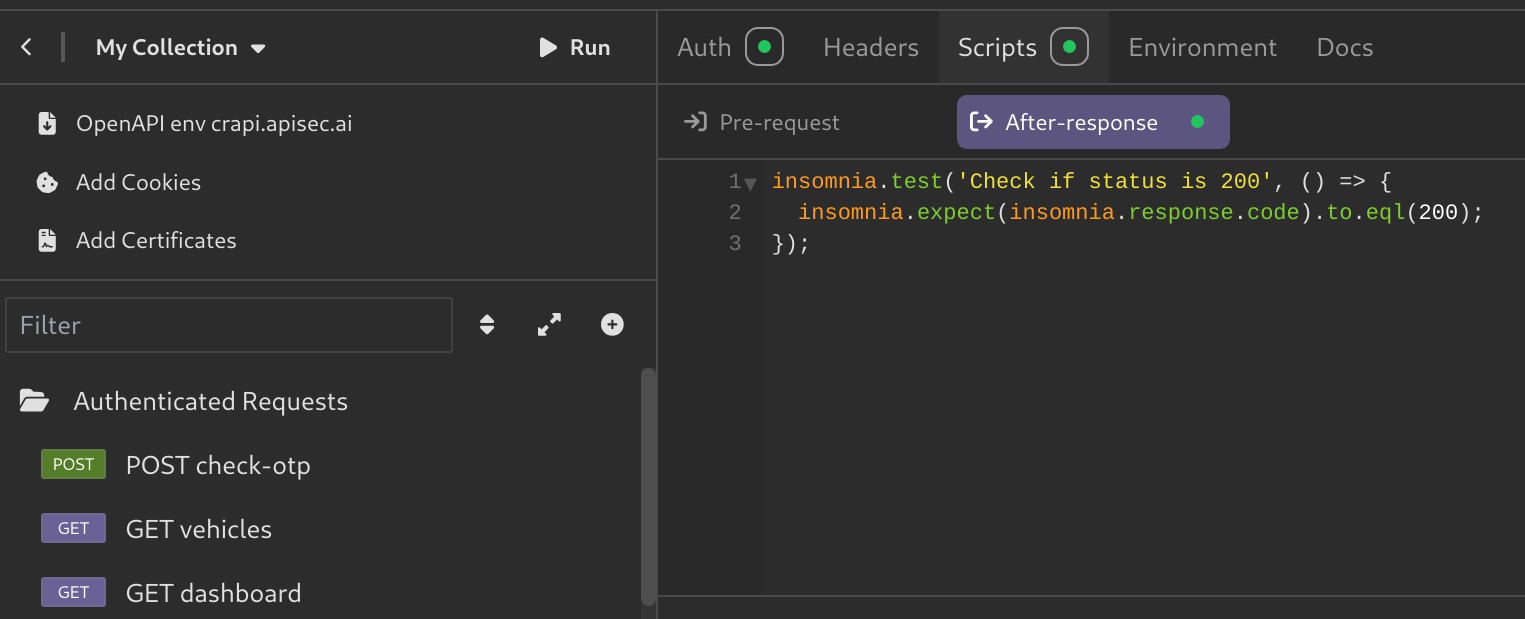
You can also set scripts for all the requests in the folder. In this example, lets check if the requests return a 200 status code.
- Click on your folder, and Select
Scripts > After-response.- Like the name suggests, After-response scripts execute after getting the request response.
- Using the code we can check if status is 200:
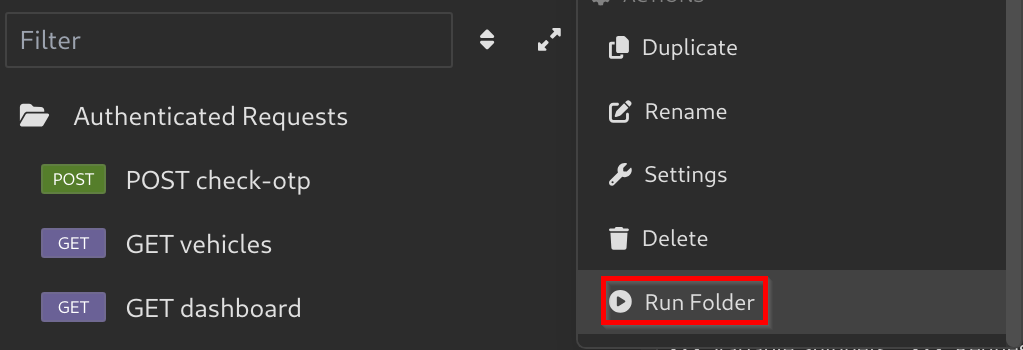
- To run the scripts, Right-Click on your folder, and Select
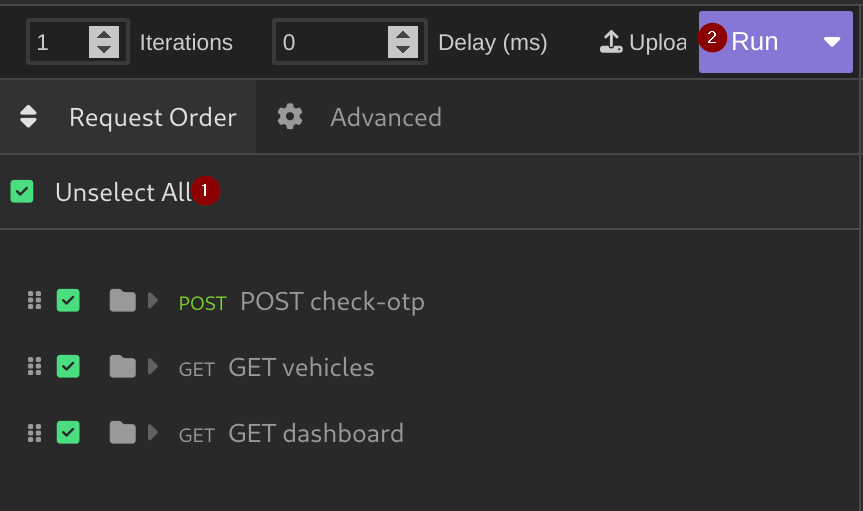
Run Folder: - Check
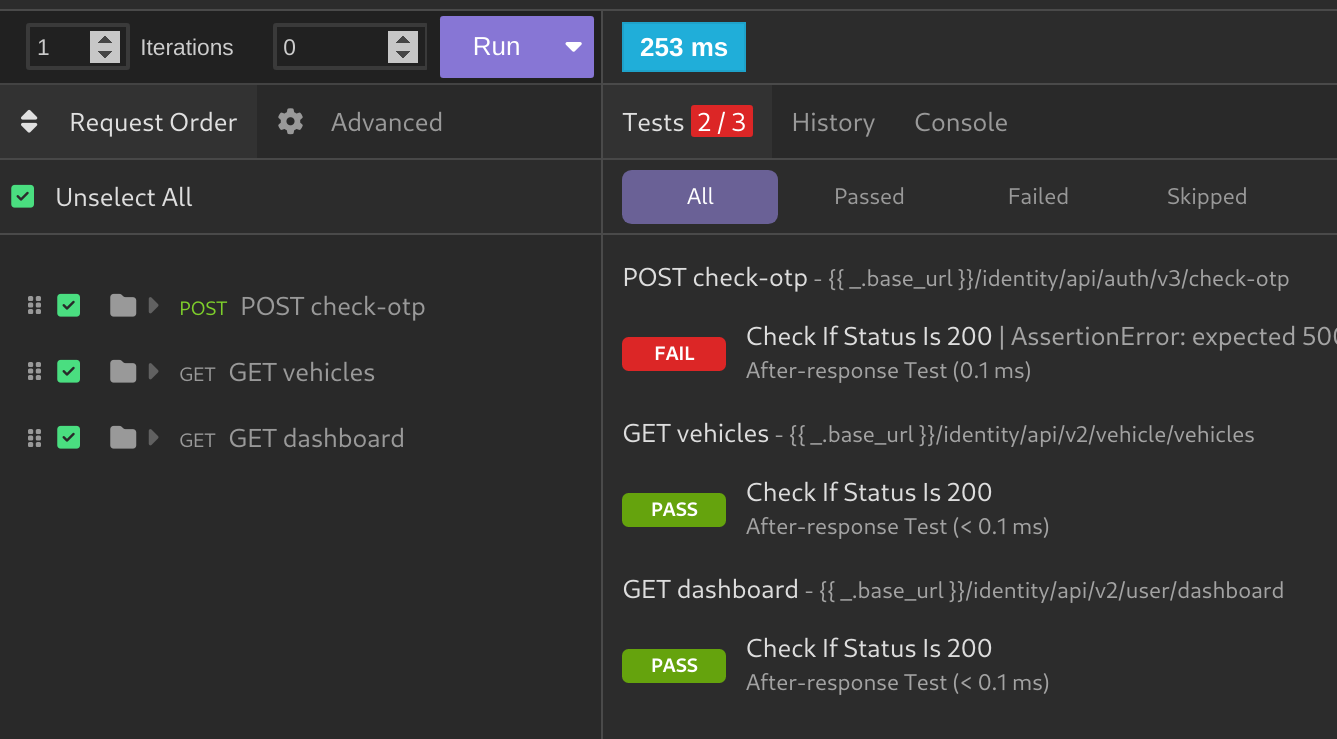
Select allto select all your requests in the folder and PressRun: - After running you will get the results of the tests as shown below:
Testing for Public and Outdated API Versions with Insomnia and Burp Suite
(AKA Testing for Improper Assets Management)
In this section, I will show you how to combine Insomnia and Burp Suite to test for outdated API versions, as an alternative to using Postman.
In the API Penetration Testing course from APISecUniversity, Corey Ball demonstrates how to find outdated API versions using Postman.
A quick explanation of this vulnerability from my notes:
Testing for Public and Outdated API Versions involves identifying unsupported, outdated, or non-production versions of an API that may still be accessible. These older versions often lack patches for vulnerabilities fixed in newer releases, making them a potential security risk.
Finding undocumented API versions may indicate a Insufficient Technical Documentation vulnerability (CWE-1059), or even lead to more severe findings and the compromise of the client.
To find this vulnerability he uses the Find and Replace feature in Postman to modify all requests that contain a v3 version in the request and change them to v2, then runs the after-response script I showed you earlier to see if this change modifies the response in any request.
In the example, the check-otp endpoint still returned a 500 error instead of a 404 NOT Found error. This indicates that an old version of the check-otp endpoint still exists.
Although Insomnia doesn’t have a Find and Replace feature, Burp Suite, which intercepts all Insomnia requests, offers HTTP match and replace rules to modify any string in the HTTP request or response.
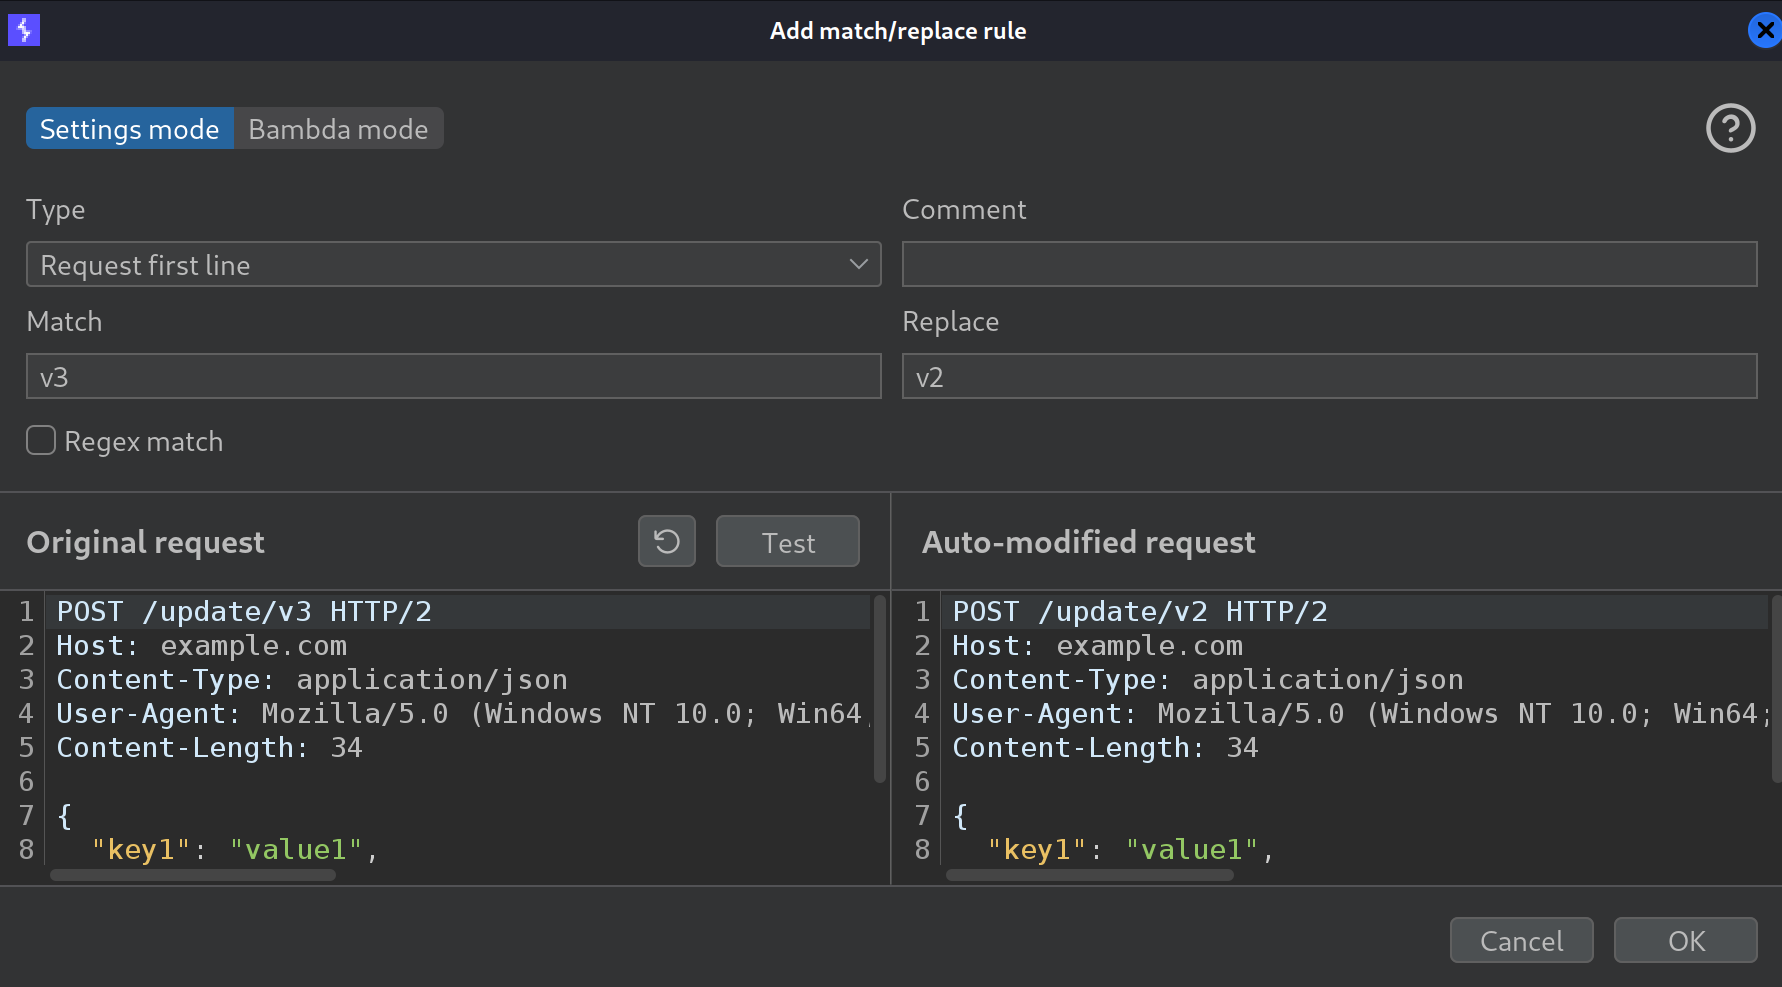
This means we create a HTTP match and replace rule to automate this process!
Creating a Burp Suite’s HTTP Match and Replace Rule:
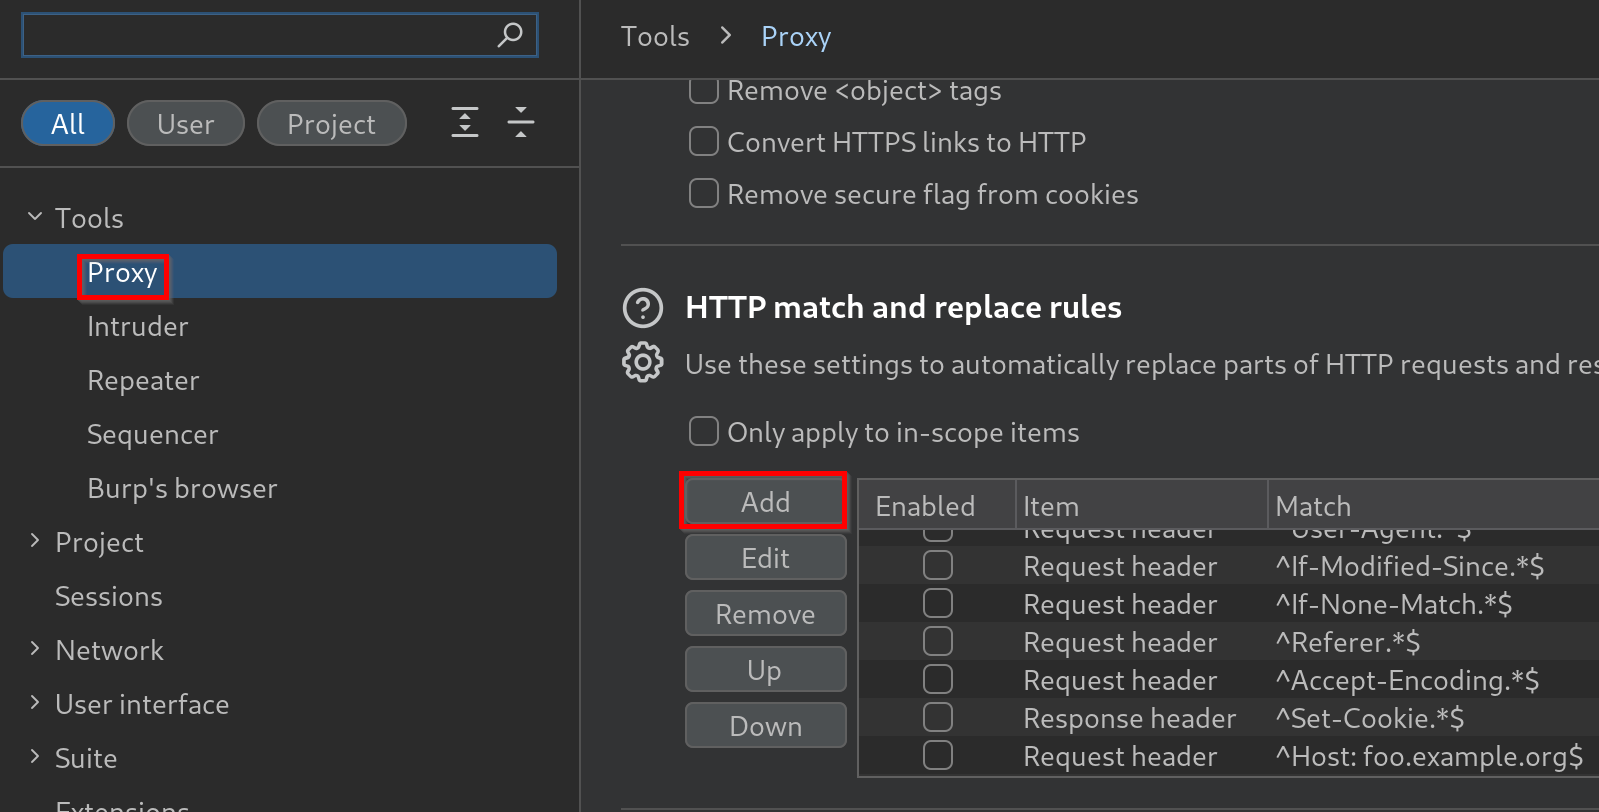
- Open Burp Suite’s Settings, Go to
Tools > Proxy > HTTP match and replace rules, and Click onAdd. - In this new window, enter the following information and press
OK: - Now, when you resend the
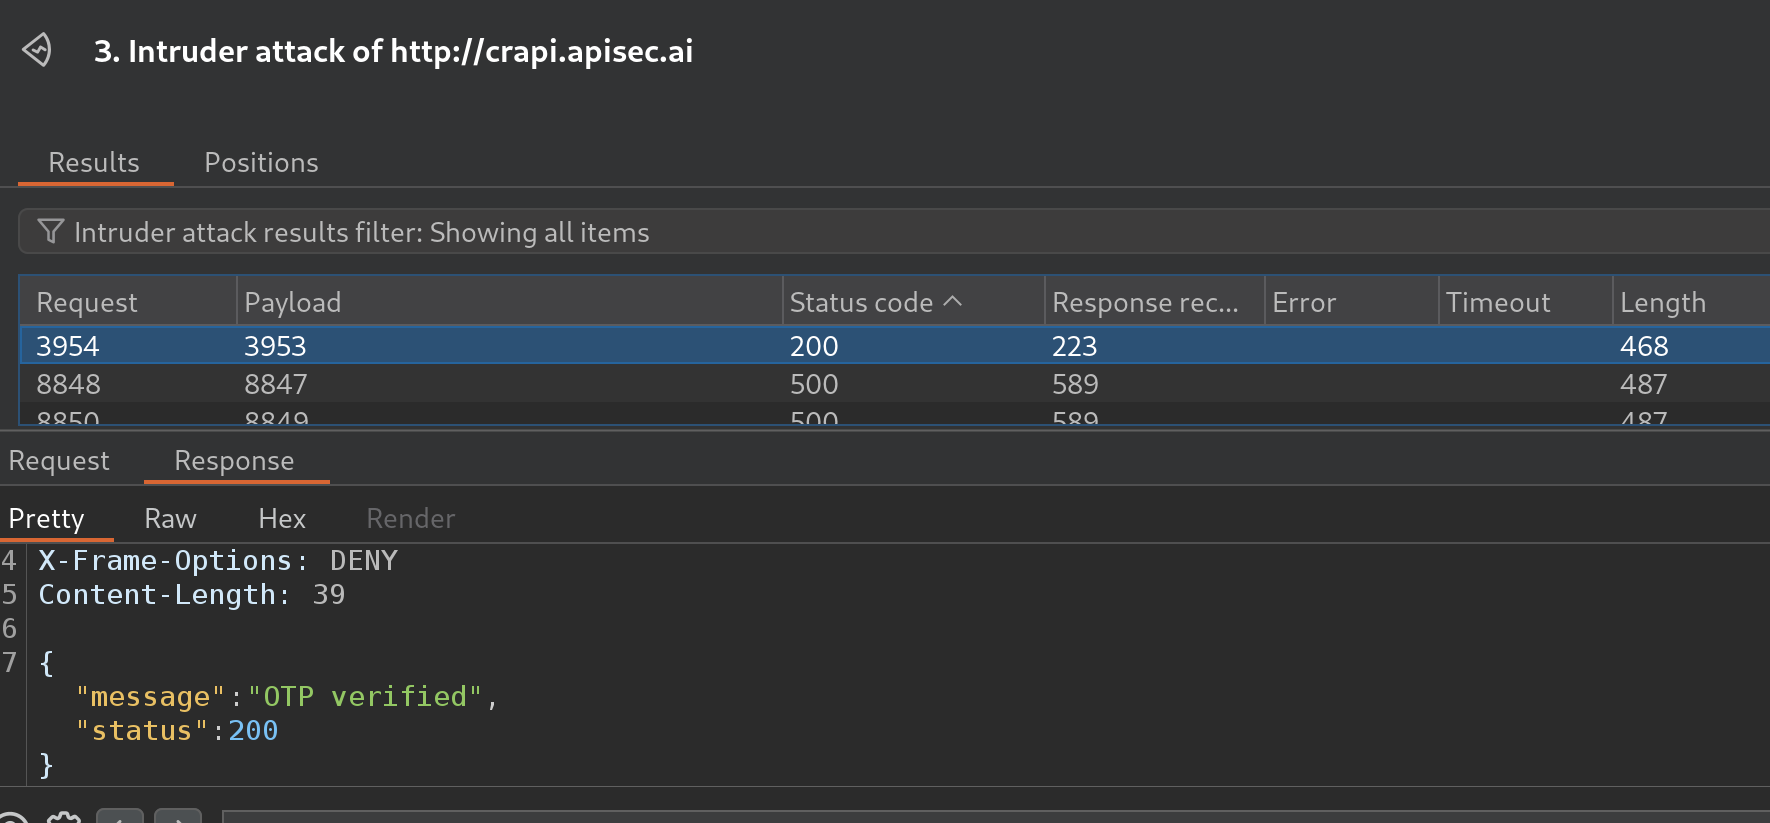
check-otprequest, thev3path will automatically be replaced withv2, resulting in a different response: - Now that the response has changed, we can attempt to brute-force the 4-digit OTP:
